Facing downtime on your WordPress website? Or is it slow as sloths? If yes, then your host could be the culprit.
And if that’s the case, you should change WordPress host of your website.
However, you shouldn’t just switch to a new WordPress host after any random issue.
Then, when should you really change it? And how to change it? Scroll down to find the answer.
Table of Contents
Reasons To Change WordPress Host
If you are dealing with these sorts of issues, you can consider changing your WordPress host.
1. Recurring Downtimes

Source: Mailchimp
- Carbonite says downtime can cost $137 to $427 per minute to small businesses.
- Bigger brands can lose up to $5600 per minute in downtime.
- 1 minute of downtime results in a loss of $220,000 to Amazon.
Downtime is when your website isn’t available to users.
There can be several reasons behind downtime, like hardware failures, hacking attacks, DNS issues, etc. But poor hosting service is also a reason. And if your site faces frequent downtimes, better change WordPress host to your website.
But How Much Downtime Is Acceptable?
How about 1%? Sounds good? But here’s the catch.
If your website gets 1% downtime each day, that means it will be down for almost 15 minutes daily. I see these 15 minutes as a huge loss of conversions and traffic.
Here’s how.
15 minutes of downtime every day will add up and become 5475 minutes at the end of the year. That means almost 91 hours of downtime or more than a weekend. And if we go with the Carbonite stat I added above, you’ll lose at least $750,000 every year.
Make sure your WordPress site is getting the least downtime. The less your site’s downtime, the less you lose revenue. Therefore, the kingpins of the internet have 100% uptime.

Source: updown.io
So that was the big picture and if it frightens you, start thinking about changing your WordPress host. But before that, first, check your website’s uptime.
Best Websites to Monitor Uptime
These websites will monitor the uptime of your WordPress site and notify you if it goes down so you can fix it before things get worse.
2. Internal Server Errors

Source: Github
Common but annoying.
Internal server errors can leave a terrible impression on your users.
When an internal server error occurs on the website, users see a page that contains messages like 500 Error, HTTP Error 500, Temporary Error Occurred 500, etc.
Your internet connection, browser, or machine isn’t faulty if you see this error. This happens because of some unexpected issues with your server.
The worst thing is that this error doesn’t contain specific reasons and information to guide users to fix it. But there can be many reasons behind 500 internal server errors. Let me show you some of them.
Causes of Internal Server Error
- Errors in your .htaccess file
- Installing poorly coded plugins
- Incorrect server permissions
- Wrong syntax in your coding files
- Wrong permissions or errors in PHP, Perl, or CGI scripts
The above reasons can also cause a 500 internal error. So I’ll not recommend you to switch your WordPress host after getting this error for the first time.
Try to check and fix these common issues first. But if you face these problems a lot, moving the WordPress website to a new host would be better.
3. Sluggish Load Speed
Each second on the internet is precious for users.
Reports say, even a 1-second delay in website loading will decrease your pageviews by 11%, customer satisfaction by 16%, and conversion rate by 7%.

Source: LoadStorm, Econsultancy
People hate slow websites. They want them to load in a blink of an eye. And if your website cannot do that, you’re going to lose plenty of things (revenue, conversion, reputation, etc).
There are many reasons for slow loading speed like heavy images, too many HTTP requests, not using caching, and more. Try to resolve these problems first and check your load speed after it.
Tools to Check The Website Loading Speed
Use these tools to test and improve the loading speed of your WordPress website. If nothing gets better, switch your host.
Improve Your WordPress Website Load Speed
Follow the tips this blog contains and improve your WordPress website speed.
4. Outgrown Allotted Resources
When you purchase dedicated hosting, you get many resources like bandwidth, storage, RAM, etc. But if you’re on a shared hosting platform, then the limited resources will be shared with all the other users on the same server. And you don’t know how many of them are there.
So if you’re using a shared hosting service and your WordPress website is growing, you may outgrow your allotted resources. And once it happens, you’ll start slowing down other websites that are hosted on the same server.
If you do that, your host will start terminating your resources. So if your site is growing and gets too many requests, switching your host would be a better idea.
Looking For A Safe And Robust WooCommerce Hosting?
Check out the post and you’ll get the perfect solution for your WooCommerce store hosting.
5. Lethargic WordPress Dashboard
You need your WordPress dashboard for almost everything. You’ve to go through it if you want to post blogs on your site, or create new pages or remove them.
But if your WordPress dashboard is slow, it’ll eat your precious time and sabotage your efforts of being productive.
However, I’ll still not recommend you to change WordPress host as your dashboard gets slow because hosting is just one reason among many others for a sluggish dashboard.
Reasons Your WordPress Dashboard Is Slow
- Using older PHP version
- Untidy database
- Excessive content in your WordPress memory
- Non-essential widgets on your dashboard
- Installing too many slow plugins
These reasons are not too technical and uncommon. They are generic and most people know them. But they still forget these things in real life.
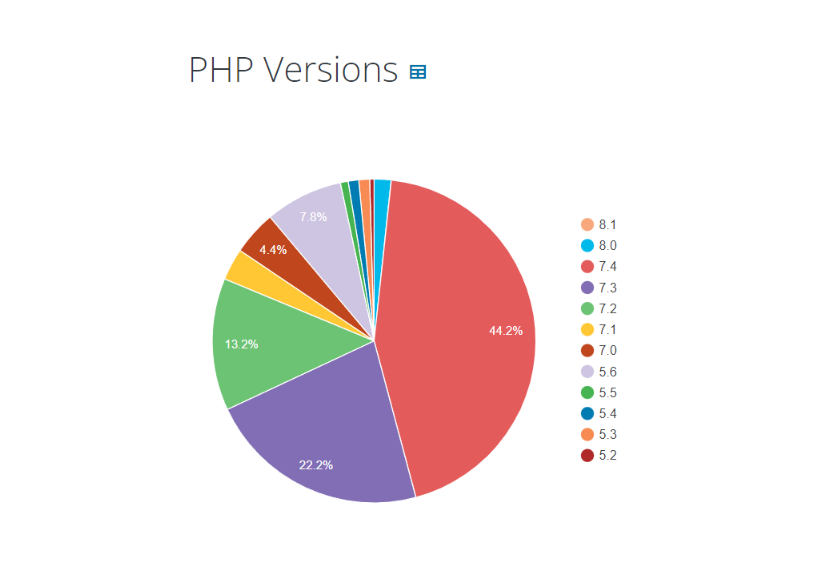
WordPress itself says 11.1% of users are still using 5.6 or older PHP versions. So if you’re one of them, UPGRADE NOW!!! And avoid all other mistakes that make your WordPress dashboard slow.
But if nothing helps, you know what to do.
6. Site Is Suspended

Source: Malcare
Your host has several reasons to suspend your website. Reasons like payment issues, illegal activities, malware on your site, etc. However, you get notifications before the suspension. But if you’re not getting any, and your website is suspended, it’s a serious issue.
But before deciding to change your host, you can try a few things that can get your suspended website back.
Tips To Get Your Suspended Website Back
- If your site is hacked, scan your website with a reliable plugin like Sucuri, Wordfence
- Remove any copyrighted content or provide credit to creators
- Use the latest PHP version
- Delete WordPress themes or plugins you don’t use
- Clear all your dues
If your site is suspended because of any of the above reasons, fixing them will help you get it back. But if you still can’t access your site, then it’s time to switch your host.
7. Deficient Customer Support
As a business, you can never compromise with customer service. Why?
Because 56% of the people across the globe have stopped doing business with the brand because of the poor customer experience. And I’m sure you don’t want your business in that list.
Keeping every customer happy is not possible for any brand and the same goes for the hosting providers. You can find tons of negative reviews on top hosting websites also.
But if you’re not happy with your host, or your host cannot assist you in turmoil, you should look for a better one.
Remember, you’re gonna stay with your host for a while, so before switching, make sure your host’s customer support is capable of resolving your technical issues.
If you get stuck with any issue any time, they’ll be there to fix it asap so your site doesn’t face downtime.
8. Charges Are Too High
You pay every month to your host. So why not pay a better one.
If you’re paying way too much and not getting the desired performance, you should switch. As I said, you don’t change your WordPress hosting each month. You’re going to stay with your host for some time. So, analyze and choose wisely.
Here are some of the best WordPress hosting providers you can try:
- WP Engine
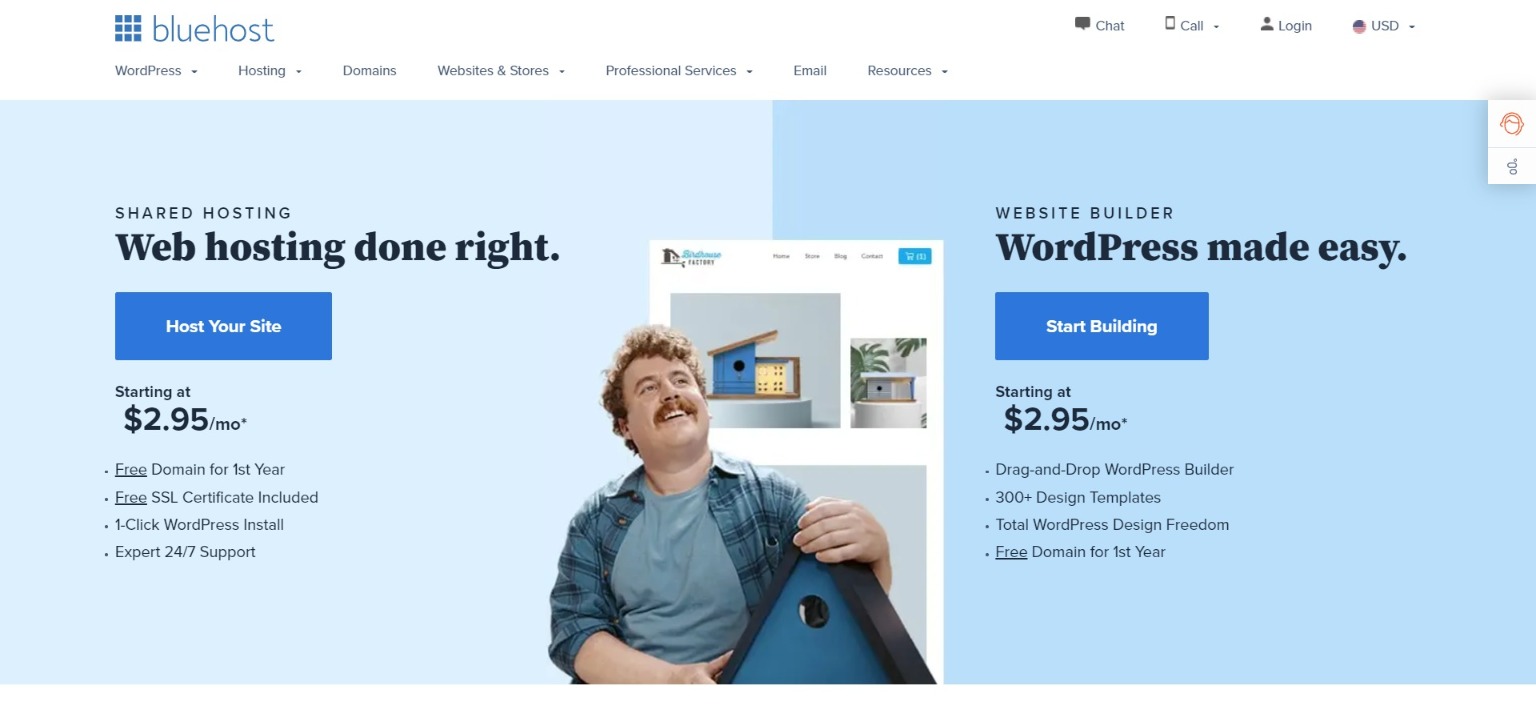
- Bluehost
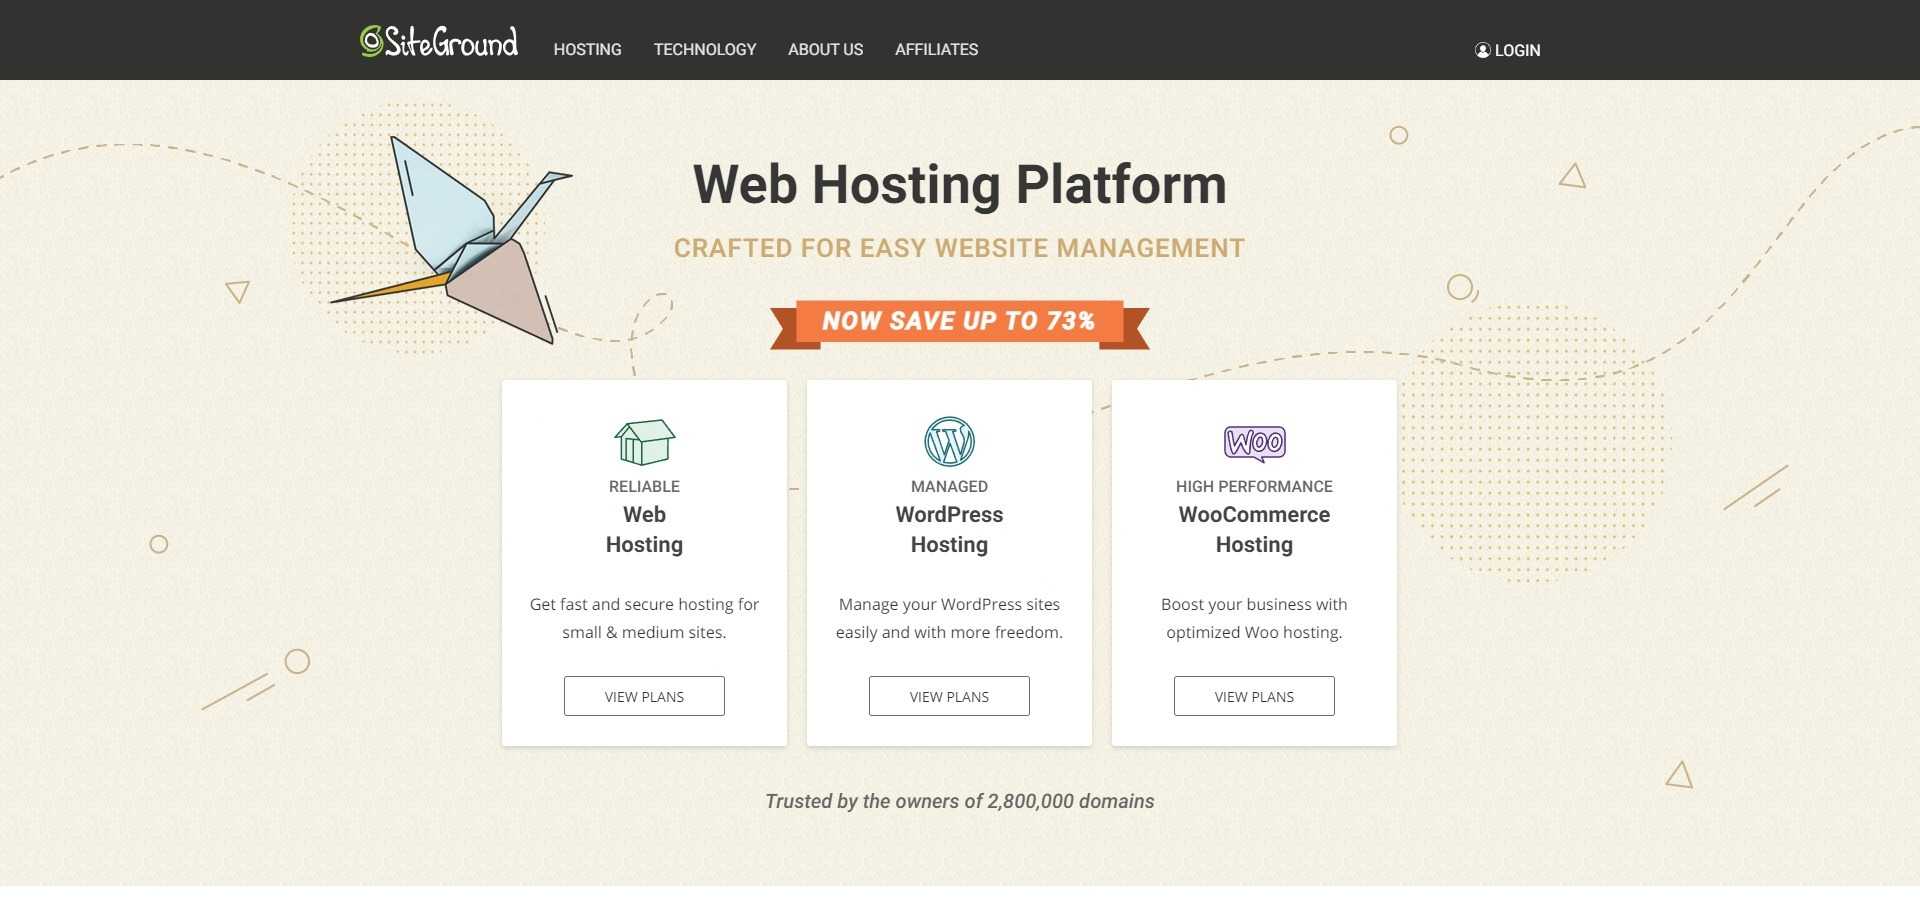
- Siteground
- Hostinger
While choosing your host, think about what you really need. Don’t unnecessarily buy an expensive hosting plan if you don’t need it, you’ll waste your money. Also, don’t go for cheap WordPress hosting just to save bucks, you’ll slow down your site’s performance.
Select the one that fulfills all your requirements. But if your current host isn’t capable of doing that, switch it.
So now we know why you should change WordPress host of your website. And if you’ve decided to do that, you should know – How?
Automatically Or Manually: How Should You Change WordPress Host?
Well, this depends.
If you’re dexterous with the technicalities or have an expert team of developers, you can go with the manual process. But if you’re not sure how to do it the hard way, you can take the automatic route, i.e. use a plugin.
But I know the above answer won’t satisfy you and you still want the option that’s best for you.
So if I need to recommend one option, I’d suggest you go with the automatic process.
This process involves a plugin that will perform all the tasks for you without any manual interference.
Now you’ll ask if I go with the automatic migration, what plugin I should use to migrate my WordPress website.
Let’s talk about it.
Best WordPress Migration Plugins
There are several plugins out there in the market you can go with. Here’s a list of those plugins:
-
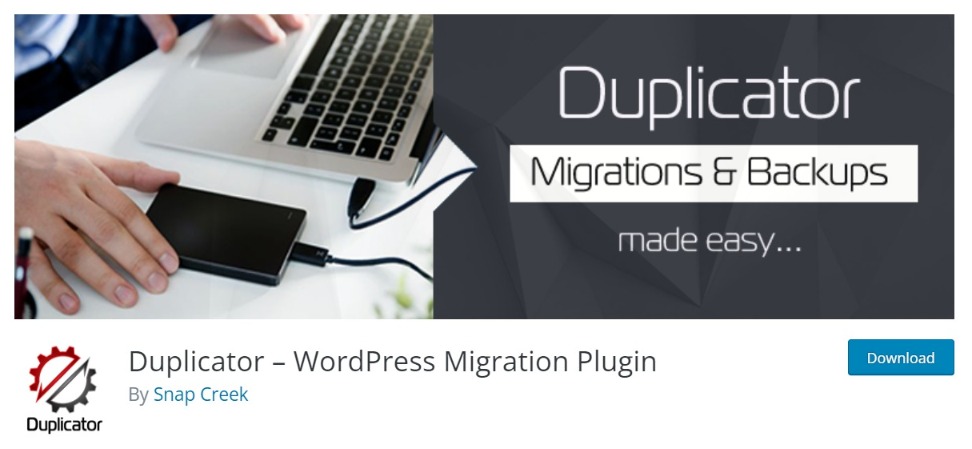
Duplicator
Duplicator is one of the most popular and feature-rich plugins for WordPress migration. Its free version on WordPress has over 1 million active installations.
The migration process in the plugin is divided into 3 steps called 1) Setup, 2) Scan, and 3) Build. You can scan your website before migration and build a package that contains all your website files. Then you can install the package to the new server and successfully change your host.
-
WP Migrate DB
Migrate DB is another amazing WordPress migration tool to change WordPress host. With over 300,000 active installs, it already has been a choice for many businesses having WordPress websites.
This plugin makes exporting and backing up databases a cakewalk. You can add some rows to export the database and specify the values in Find and Replace fields. After specifying all the values properly, you can Export Database.
-
All-in-One WP Migration
The All-in-One WP Migration plugin is, in my opinion, the most user-friendly WordPress migration plugin.
It lets you export your Database on various platforms like FTP, Google Drive, Dropbox, Onedrive, and simply as a file.
How To Change Your WordPress Host (Manually)?
It’s time to talk about how you can change WordPress host manually.
You can either watch this video or follow the below written steps to do this. Whatever you do we’ll get more dwell time haha😈
1. Create a Backup of Your Essential Files
First of all, create a backup of all your necessary files. These files include all your website files and your database. You’ll need these files to upload to your new host. To create a backup automatically, you can use the WordPress migration tools I talked about above.
But remember one thing, automatic backups can sometimes fail. So as an alternative, you can choose the manual process.
There are two methods you can use to back up your website files. The first one is by using an FTP tool.
Here are the steps for it:
- Install an FTP tool like Filezilla.
- After installing, connect with your website server using the SFTP credentials of your hosting account.
- After logging in, open the public_html folder.
- Select all the files inside the folder and right-click to download.
Once successfully creating the backup, install fresh new WordPress and only replace the above-mentioned and required folders.
Backing up your website files with an FTP can sometimes take an eternity. So to save your time, you can use the other method that is by using the cPanel.
Follow the Steps Below:
- Log into your cPanel account.
- Click on the File Manager option.
- Find and open the public_html folder and select all the files in it.
- Click on Compress in the top left corner of the window.
- A popup window will appear. Select the zip archive compression type in the popup.
- Enter the name of the compressed archive and click on Compress.
- Once the compression is done, click on the Download button displayed above.
You need to download your .htaccess file too which is hidden by default. So make sure your FTP client is set to display hidden files. If it’s not, you can do that by changing the settings under Server > Force showing hidden files.
Note: Sometimes public_html folder contents can be heavy in size and will take too much time to download. So you can download the essential folders that are:
- plugins/
- theme/currently_active_theme
- uploads/ (sometimes uploads folder is not exactly downloaded and some files are missed. So you need to download some individual folders manually. So always ensure and check by comparing)
You can also decide on your own which other folders are important and create a backup of those.
2. Export The Database
After downloading your website files, backup your MySQL database.
- Login to your cPanel account and go to your phpMyAdmin page.
- Choose the database where your WordPress files are stored.
- After selecting the database, click on the Export button, select the Quick method and choose the SQL format and click on Go.

Source: Inmotionhosting
3. Create a New Database in Your New Host
After you export your database, you need to create one in your new host. For this, simply log in to your account in your new host. Then navigate to the section that handles the MySQL database related activities and create a:
- New database
- The user that has all the permissions for that database
- Strong password to that user
Note: You’ll need these multiple times in the future so don’t forget them. It’s better to note them down.
4. Find and Tweak the Config.php File
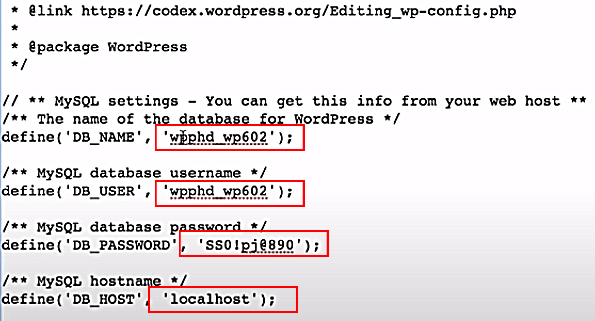
After creating these credentials, you need to add them to the wp-config.php file. To do this:
- Navigate to the folder where you saved your website files and locate the file named wp-config.php.
- Edit the file and change DB_NAME, DB_USER, DB_PASSWORD, DB_HOST with the credentials you created in the previous step. You need to change the values that are highlighted in the below screenshot.
- Change the highlighted sections with the new credentials.
After changing the credentials, save the file.
Note: You can leave the “localhost” section as it is if your host uses localhost for this setting. Otherwise, replace localhost with your MySQL server information.
5. Upload Files to Your New Host
After performing the above steps, it’s time to upload your downloaded files to your new server. Use your FTP client to connect with your new host.
Once connected, upload all your website files along with the updated wp-config.php file to the root directory of your new server.
This process takes time so meanwhile, you can proceed to the next steps.
Note: If you use your website URL to connect via the FTP client, it won’t work since it is still pointing to your previous server. So you can use the IP address of the new server you get in your hosting account.
6. Import The Database
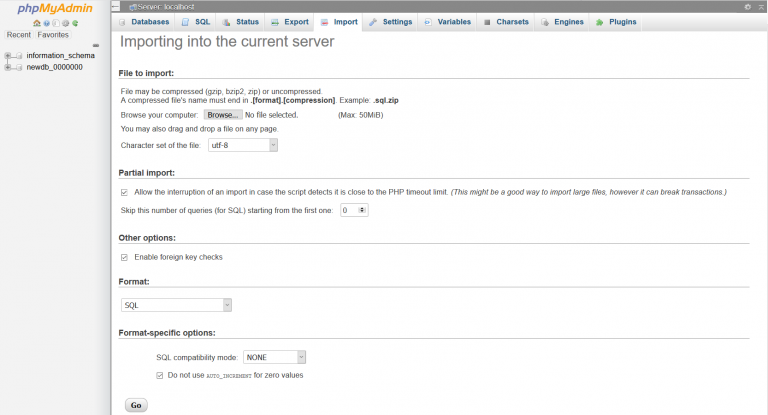
While your website files are uploading, you can import your database on your new server. Login into the database management tool in your new server and click on Import.
Source: Inmotionhosting
Click the Browse button and select the database you exported in step B and click on Go. The larger your database size is, the longer it’ll take.
7. Replace Your Old URL in the Database
If you’re changing your domain along with your WordPress host, then you should read this step otherwise move to the next step.
In this step, you need to replace all the links that are pointing to your old URL. And the easiest way to do this is by using the Search Replace DB script.
Create a folder in your website’s directory with some random name and upload this script to it. This script will help replace your old URL reference with the new ones quite smoothly.
Note: Do not forget to delete the script after the changes are done. And also don’t store it in your root domain. Anyone who gets this can harm your website.
If you want to replace the old URLs manually, you can do this by running some SQL queries. You can check this Hostinger blog on how to change WordPress URLs in MySQL database using phpMyAdmin to do this.
8. Configure and Change Your DNS Server
In this last step, you need to change your DNS server so that your domain points to your new WordPress hosting account. You need to switch your nameservers to do this.
This process varies as per your domain registration. If your domain was registered with your old hosting provider, you’ll be required to transfer your domain to the new host. You can contact the support team of your old host for how to do this.
If you had purchased your domain from a domain registrar like Godaddy.com, you’ll need to update your nameservers.
For this, you’ll need the DNS nameserver addresses of your new hosting provider. They are a couple of addresses that look like this:
- ns1.yourhostname.com
- ns2.yourhostname.com
Connect these nameservers with your domain. Again, the process may vary depending on where you purchased your domain from. But you can take this guide as a reference since the steps for other domain registrars or web hosts are almost similar.
Want to Change Nameserver In Your WordPress Hosting?
Read the post and learn how to change your nameserver in Godaddy.
If you’ve successfully changed the nameservers, sit back and relax. The changes can take up to 48 hours to reflect. Do not make any changes to your website until the process is done.
You can use tools like nslookup to check whether your DNS is changed. If anything goes wrong, you can contact the support team for WordPress migration help.
That’s it. You’re done.
You’ve successfully moved your WordPress site to another host. You can chill now but after one last thing. Go back to your old host and delete all your website files and database.
But, keep the local copy of those files and the old wp-config.php file with you for some time (in case you want to roll back your migration).
How To Change Your WordPress Host (With A Plugin)?
Let’s now talk about the easier method, i.e. migrating to a new WordPress host using a plugin.
I’ve already told you about the plugins you can use to change WordPress host. So I’m coming straight to the steps you need to follow to change WordPress host of your website.
Many steps in this automated process are also the same as the manual process. Hence to avoid repeating the same content, I’m adding the tutorial video. You can watch the video to learn how to change WordPress host and migrate it over a new domain.
How to Migrate a WordPress Website Using Duplicator Plugin?
If you like to use Duplicator to change WordPress host, you can watch this video.
How to Migrate A WordPress Website Using All-in-One WP Migration Plugin?
If you want to use the All-in-One WP Migration plugin to send your WordPress website to a new domain, go through this tutorial.
Best Hosting Service For WordPress
Choosing a perfect WordPress host is something that many administrators ponder little about. And if you read the introduction of this post, you know how critical it is to select a good WordPress host.
So here are some of the best WordPress hosts you can consider:
-
WP Engine
WP Engine is another amazing option to select as your WordPress host. It is an award-winning hosting provider that offers many cool features like premium themes, on-demand backups, one-click staging, page performance monitoring and so much more. Choosing WP Engine as your WordPress host will make your site fast and secure.
The plan starts from $25/month.
-
SiteGround
I think SiteGround is undoubtedly the best Hosting provider for WordPress. Maybe that is the very reason it is the highest-rated WordPress host. It offers many features like built-in WP caching, WordPress CDN and SSL, one-click staging, etc.
SiteGround is used by brands like WPBeginner so you can understand how trustworthy it is.
The plan starts from $3.99/month.
-
Bluehost
Another trusted WordPress hosting provider is Bluehost. It is one of the best hosting providers and WordPress itself recommends it. It offers features like Custom Themes, AI-driven templates, Free CDN and SSL, and more.
The plan starts from $2.95/month.
-
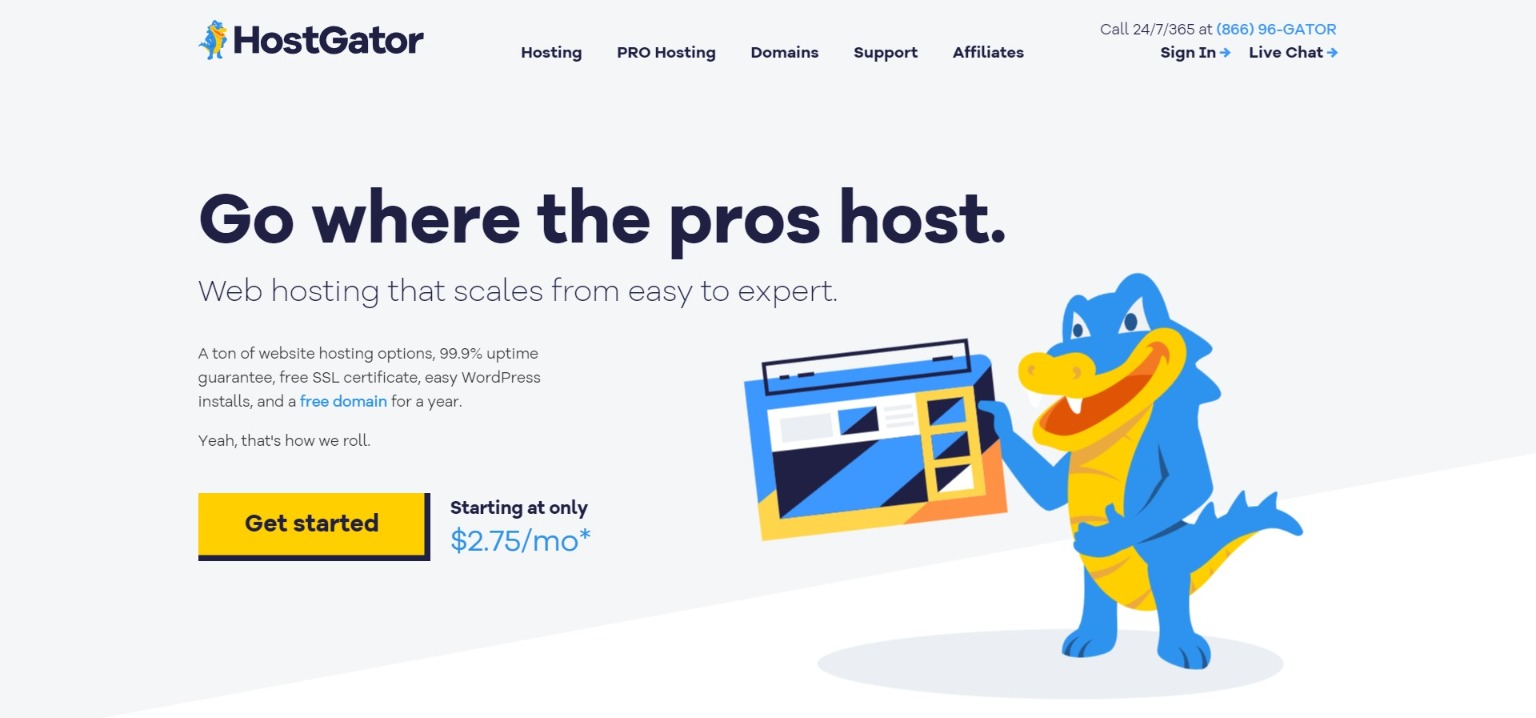
HostGator
If you select HostGator as your WordPress hosting provider, your website would join the crowd of those 2 million websites that are already hosted on it. This shows the popularity of this platform. HostGator’s hosting brings features like free email, unmetered bandwidth, free migration through experts, and much more.
The plan starts from $5.95/month.
-
Hostinger
Bootstrapped in 2004, Hostinger has created a vast user base of over 29 million users across the globe. With an average of 15K sign-ups every day, Hostinger has proved its mettle in this industry.
They offer features like Google Ads credit, WP Acceleration, Multiple data centers, and more.
The plan starts from $1.99/month.
How Long Does WordPress Migration Take?
If no technical issue comes up, the migration process doesn’t take more than 6-7 hours. But at max, the migration process completes in less than 24 hours.
Final Words
Not only your website’s performance, but your business reputation also depends on your website host. So do not compromise with budget, customer experience, or anything while choosing it. The better your host, the better traffic it will attract.
If you’ve changed or faced any complications or still have any questions on how to migrate WordPress site to another hosting, you can share with us in the comments.

